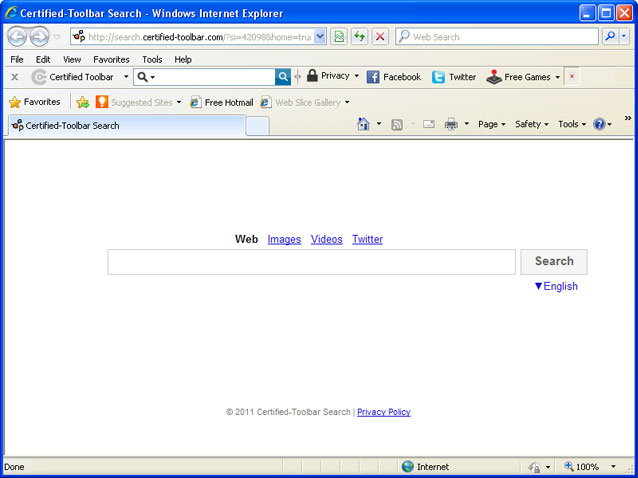
Some people describe it as a web browser hijacker or even worse – redirect virus. Such accusations are patently untrue. At least I couldn't find any direct or indirect connections to malicious software or illegal activities. On the other hand, this web toolbar certainly collects some sort of information about the users who are using this service; otherwise it wouldn't make sense at all. Besides, I can't say I was impressed with the quality the search results provided by this search engine either. I have a feeling that they are using some sort of commercial tool that can be re-branded and used as a completely unique search engine.
Certified Toolbar and search.certified-toolbar.com can be removed at any time without any limitations, just like any other software installed on your computer. Sounds great, but that's not quite the case, I'm afraid. As well all know, browser add-ons and BHOs can be rather persistent. Even though, users can remove the toolbar rather easily, web browser modifications remain the same and they point to associated web sites. Very often, users have to restore default web browser settings manually. Usually: search page, default page URL, search bar, start page and keyword.URL in Mozilla Firefox. If you are being redirected to search.certified-toolbar.com, please follow the removal instructions below. Just a few simple steps and hopefully everything will be back to normal. Questions and comments are welcome and appreciated. Good luck and be safe online!
Search.certified-toolbar.com removal instructions:
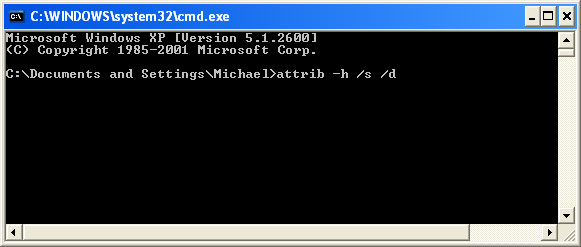
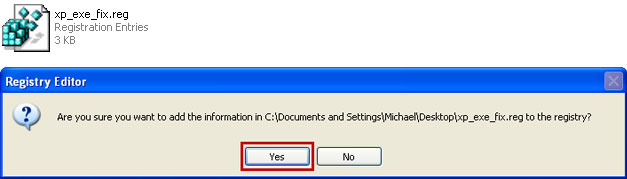
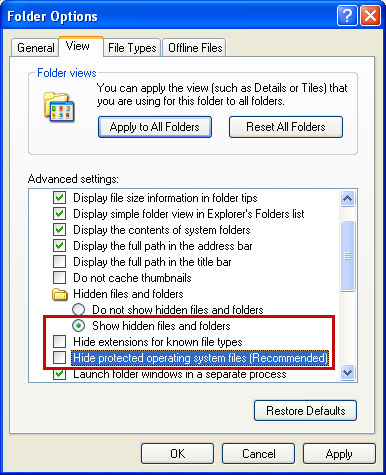
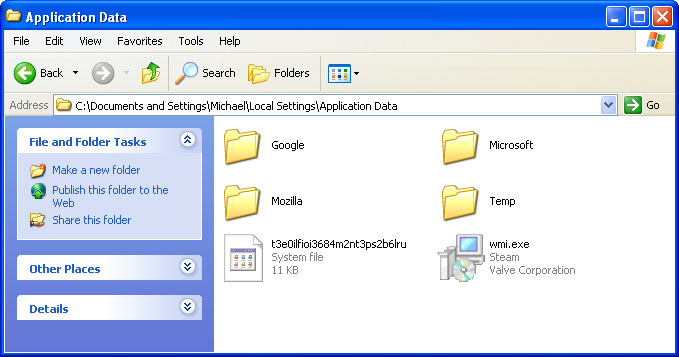
1. First of all, download recommended anti-malware software and run a full system scan. It will detect and remove this infection from your computer. You may then follow the manual removal instructions below to remove the leftover traces of this browser hijacker. Hopefully you won't have to do that.

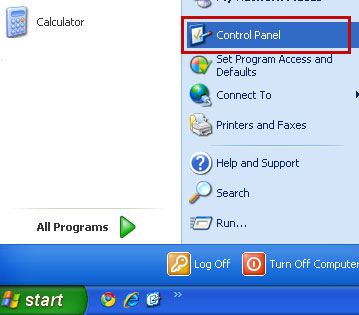
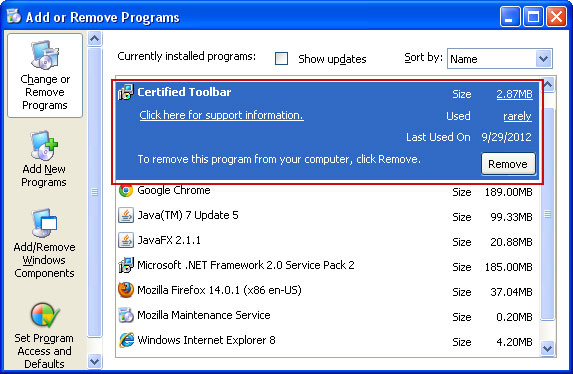
2. Go to the Start Menu. Select Control Panel → Add/Remove Programs.
If you are using Windows Vista or Windows 7, select Control Panel → Uninstall a Program.
3. Search for Certified Toolbar and Protected Search applications in the list. Remove both applications. Please note, there might be only one of them, so don't worry if you can't find both.
If you are using Windows Vista/7, click Uninstall up near the top of that window.
Remove Search.certified-toolbar.com in Internet Explorer:
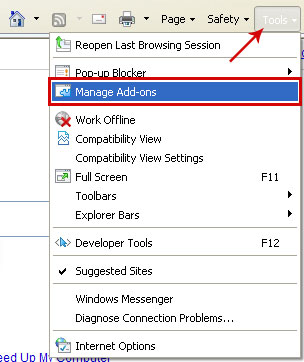
1. Open Internet Explorer. Go to Tools → Manage Add-ons.
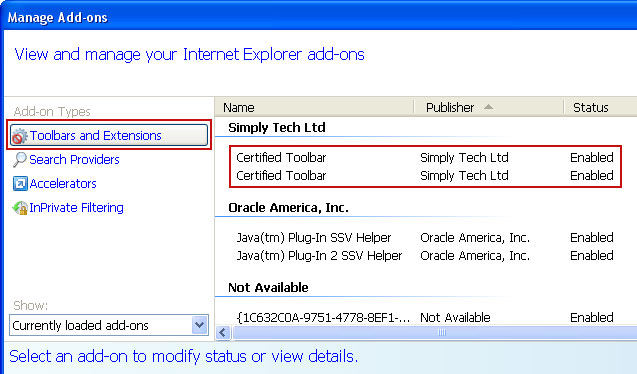
2. Select Toolbars and Extensions. Remove Certified Toolbar by Simply Tech Ltd. There might be two or more add-ons installed with the same name. Remove all of them.
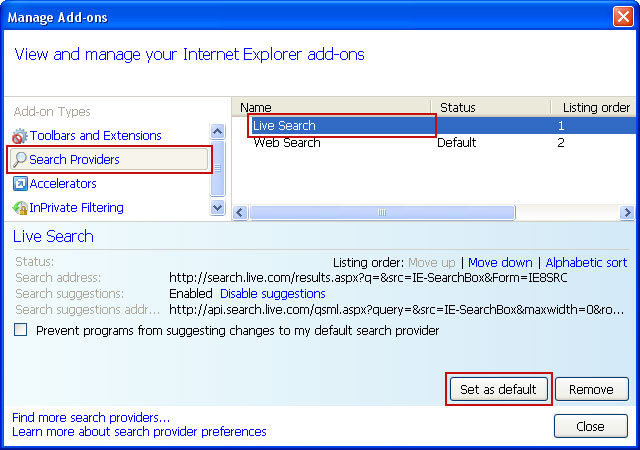
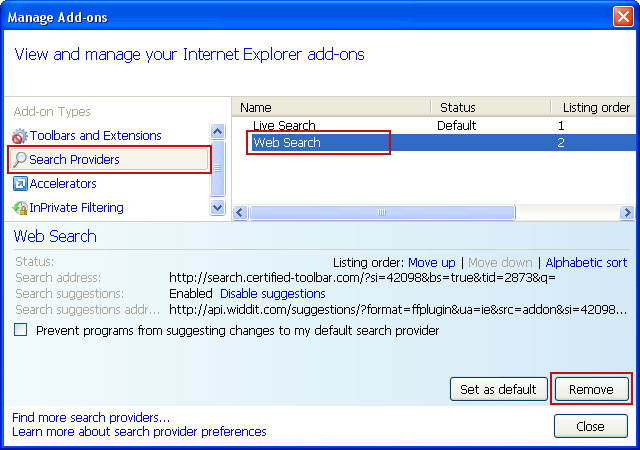
3. Select Search Providers. First of all, choose Bing or Live Search search engine and make it your default web search provider (Set as default).
4. Remove Web Search web search provider. Close the window.
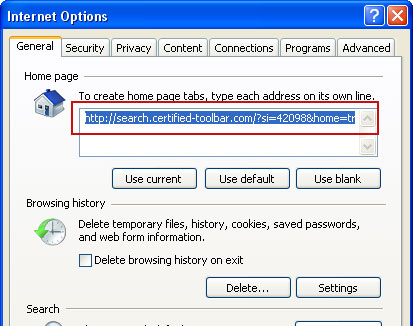
5. Go to Tools → Internet Options. Select General tab and click Use default button or enter your own website, e.g. google.com instead of http://search.certified-toolbar.com. Click OK to save the changes.
Remove Search.certified-toolbar.com in Mozilla Firefox:
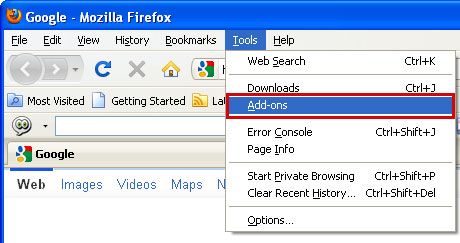
1. Open Mozilla Firefox. Go to Tools → Add-ons.
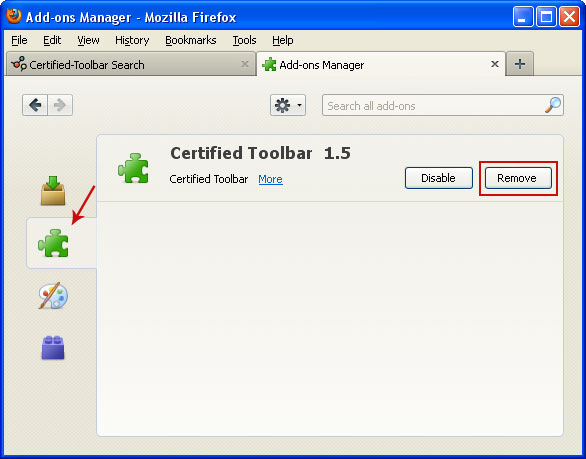
2. Select Extensions. Remove Certified Toolbar toolbar. Close the window.
3. Click on the Web Search icon as shown in the image below and select Manage Search Engines....
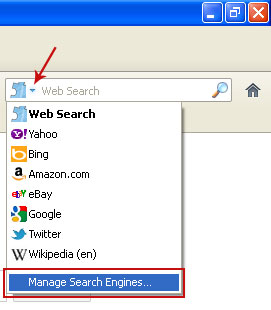
4. Choose Web Search from the list and click Remove to remove it. Click OK to save changes.

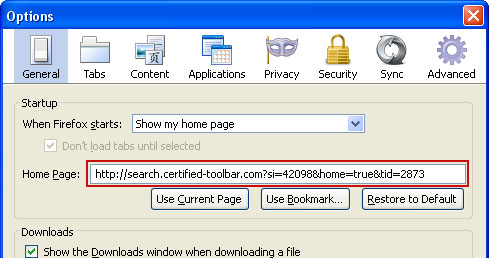
5. Go to Tools → Options. Under the General tab reset the startup homepage or change it to google.com, etc.
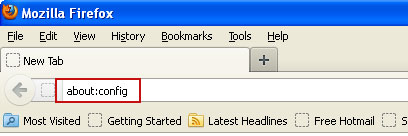
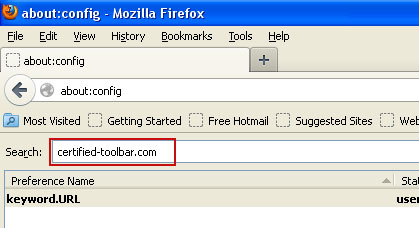
6. In the URL address bar, type about:config and hit Enter.
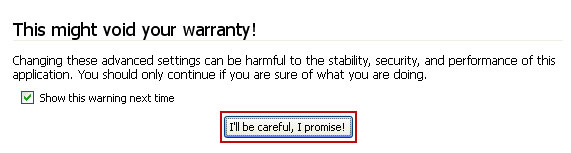
Click I'll be careful, I promise! to continue.
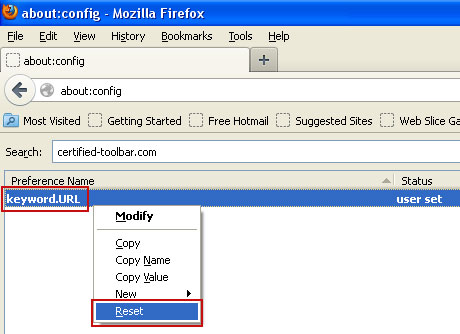
In the filter at the top, type: certified-toolbar.com
You should see all the preferences that were changed by Certified Toolbar Search. Right-click on the preference and select Reset to restore default value. Reset all found preferences!
Remove Search.certified-toolbar.com in Google Chrome:
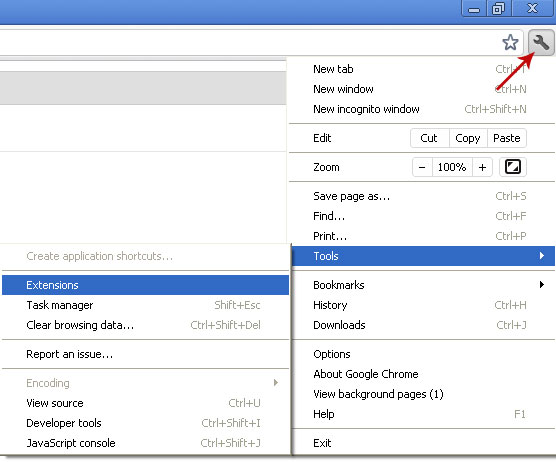
1. Click on Customize and control Google Chrome icon. Go to Tools → Extensions.
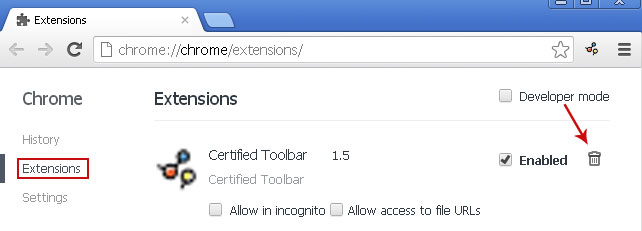
2. Select Certified Toolbar and click on the small recycle bin icon to remove the toolbar.
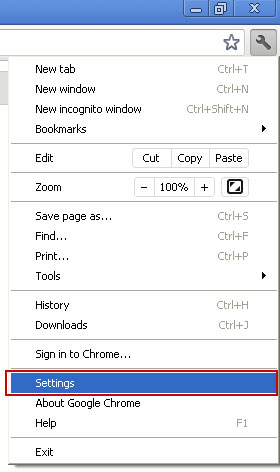
3. Click on Customize and control Google Chrome icon once again and now select Settings.
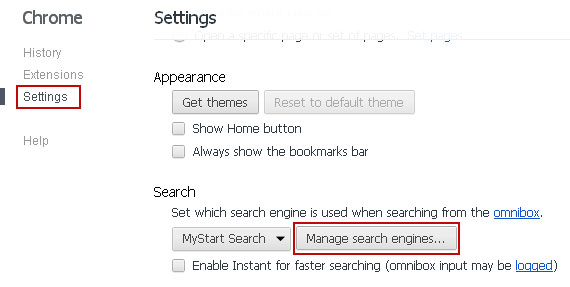
4. Click the Manage search engines...button under the Search settings
5. Select Google make it your default search engine.
6. Select Web Search from the list and remove it by clicking the "X" mark.
7. Under the On startup settings, select Open a specific page or set of pages and click Set Pages.
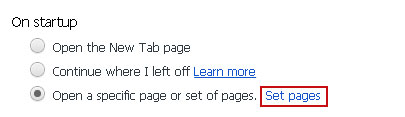
8. Select Certified-Toolbar Search from the list and remove it by clicking the "X" mark as shown in the image below

Tell your friends: